I am starting a new job soon so I am taking some time off to concentrate on the Firebird full time. My goal is to get one panel per day "done". This means all filler done, all scratches out, and in primer, ready for final sanding. I am approaching this one panel at a time for a couple of reasons. First, is so doing the whole car doesnt seem so overwhelming. Second, is so I can give each panel the detailled attention needed to do a good job. Third, this makes definite, achieveable goals that I can accomplish and feel good about.

The existing paint on the above fender had very heavy cracking on the top areas, probably from sun exposure over the years. When I was younger, I had a car painted by somebody, and they painted over similar cracking. It looked great at first, but as the paint continued to dry, it sat down in the cracks and looked like hell. So I know the cracks have to come out. I could sand them out or strip the paint, I chose to strip it. Sanding would require a pretty coarse grit, and then if I don't get all the scratches out, it's just as bad as the cracking. Stripping takes a lot of time, but it's not difficult.
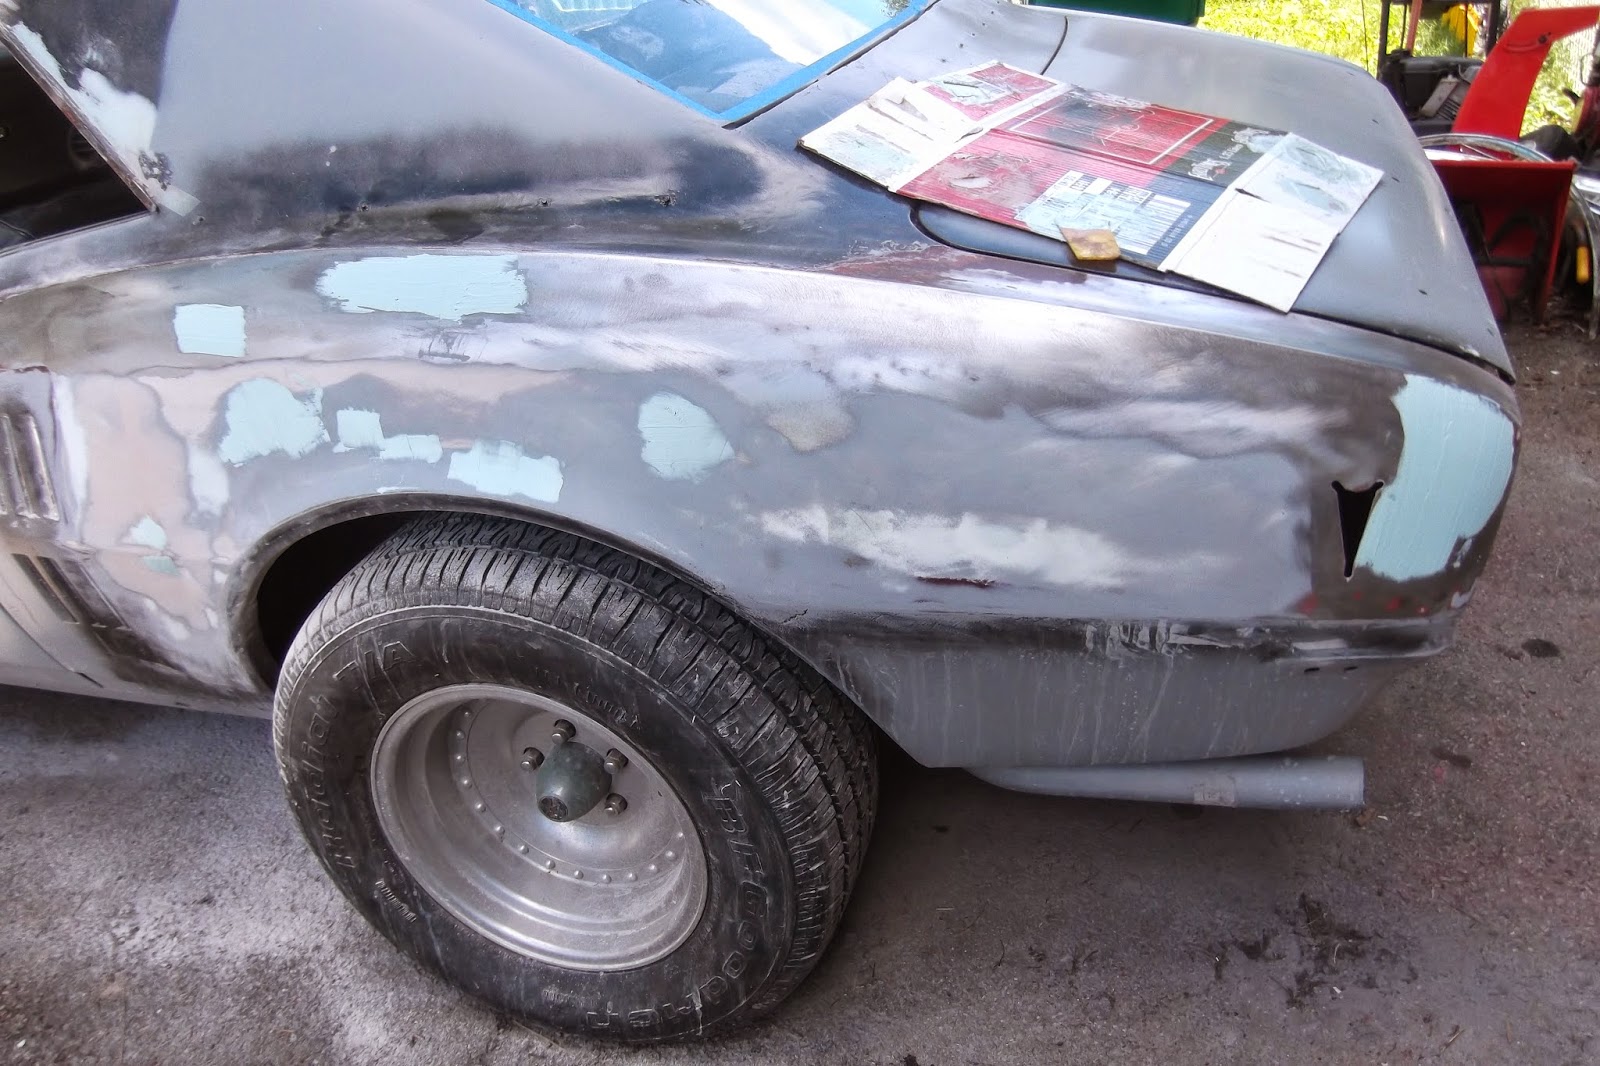
Here is the fender after wet-sanding. This gets all the remaining paint and primer level. At this point you have to go over the entire panel, feeling every tiny bit by hand, feeling for any bad spots. I am not kidding when I say you have to try to find every little bloop. The tiniest imperfection will stand out in new paint, and then it's too late. The only way to do it is by feeling.
I had to fill a lot of small chipped areas with a skim coat of filler. There were a lot of chips on the panel behind the tire (naturally). Once all the filler is done, all chips filled, all sanding scratches sanded out, all paint edges feathered, everything feeling flat, it's ready for primer. I call that the tune-up phase. This stage looks simple, but it is critical. This is the second to last chance to get it all really right. You can't ignore any problems you find here. Then the entire panel gets shot in primer. After the primer dries, I will give it a final sanding before paint. At that point it has to be perfect.