We're finishing the body patch we started last weekend. Continue to tack weld the seam of the patch. You cannot do continuous welds! Too much heat will warp the metal. The only way to do this is to do a million tack welds until the whole thing is done. Here I have started the tack welding.


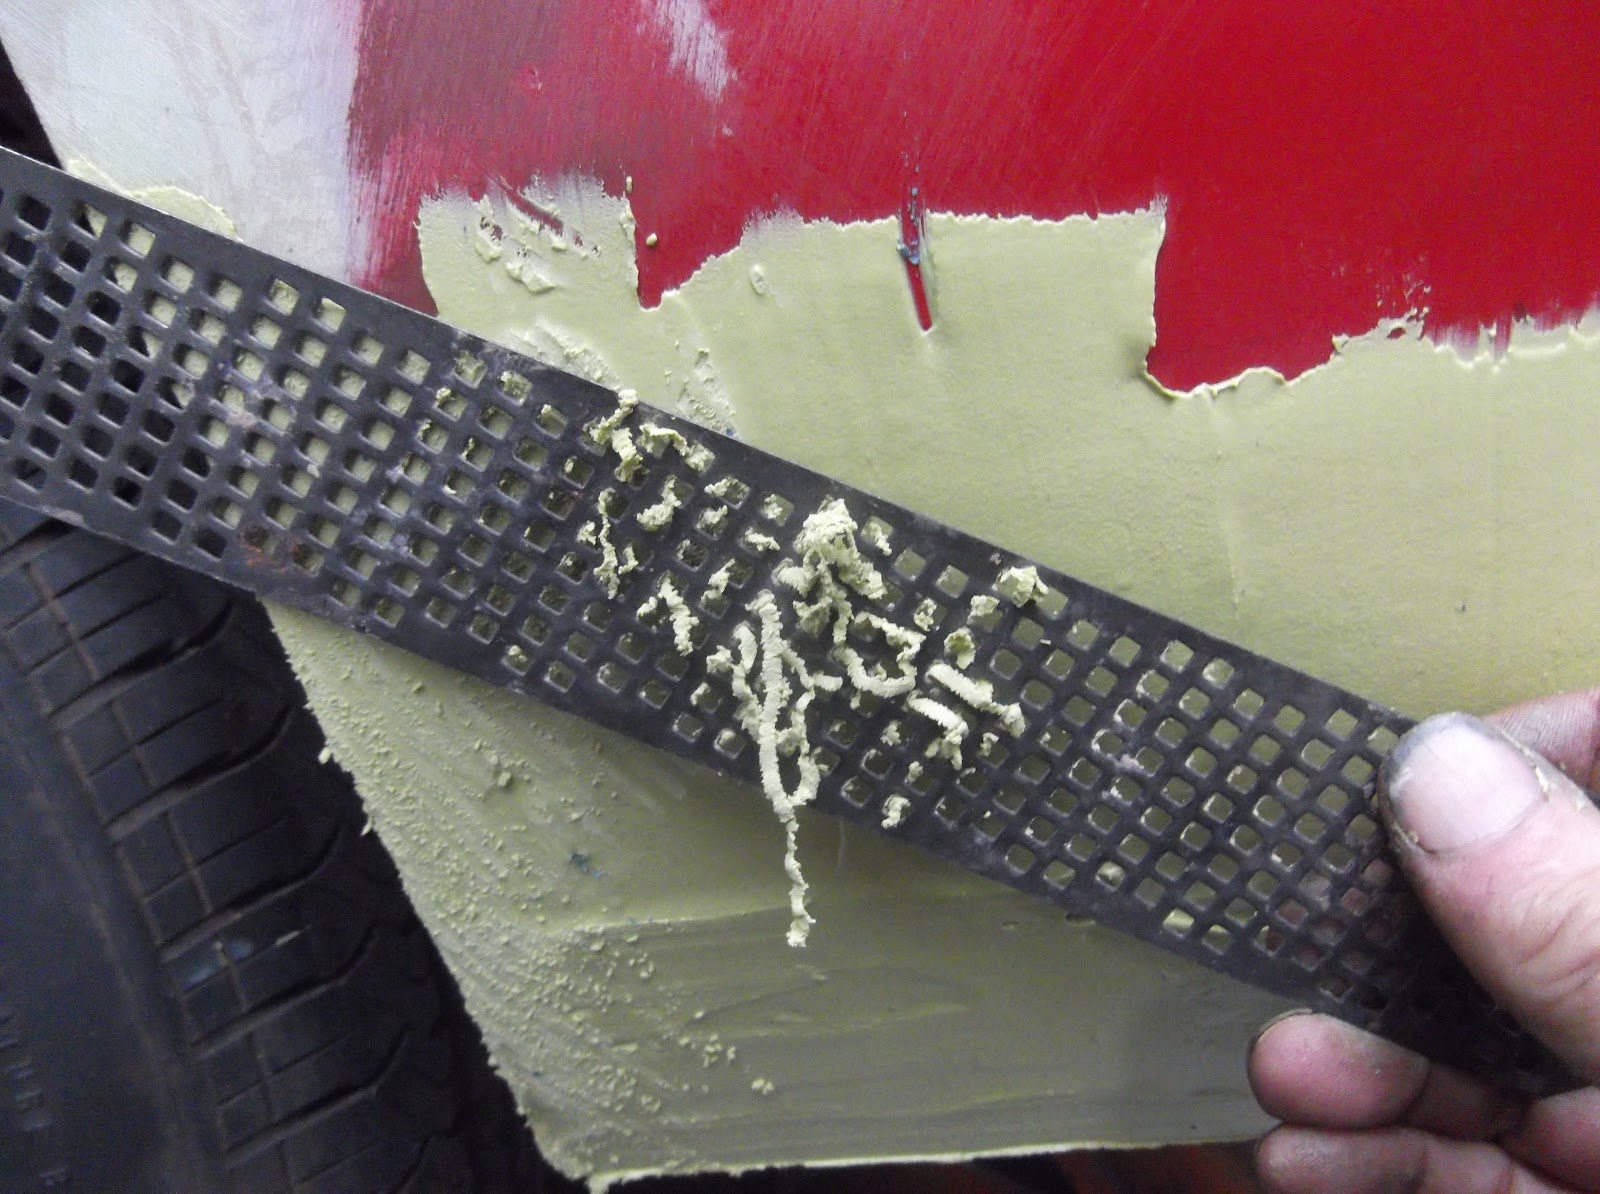

Now I use some 80-grit sandpaper on a simple rubber sanding block. More long, diagonal strokes. Get the filler nice and flat, and feather the edges out nice and thin. You can see bare metal showing, these are the high areas. There's also some unsanded areas in the middle of the filler, these are obviously the low areas. Apply more filler in the low areas, and resand. Eventually you will have a dead flat panel, with the filler even and blended into the surrounding areas. Sanding should remove at least another 1/3 of material.


So that is the crash-course time-compressed version of panel repair. I have a ton more tips and tricks I don't have room for here. I have to warn you, this is a lot of work. Just this rocker repair and panel patch on one side took me about 10 hours. That's assuming you have the tools to do it properly. I like doing this, it's part science, and part art, and it's nice to have a sturdy repair that will last a long time, where before we literally had nothing.
Other stuff: I will spray the inside of the repair with paint, and a couple of coats of undercoating. I can do this from the inside since I still have to repair the inner rocker panel. Sealing the backside is important to the longevity of the repair. Wear a mask when sanding filler, it's probably bad for your lungs. Don't expose bare primer to moisture too much, it is porous and moisture will go right through it. Body filler contains a lot of the mineral talc, and if this soaks in too much moisture, it will expand and ruin your nice flat panels. So keep this dry as much as possible.
There it is, how to fix a rusty panel. It's not rocket science, but it does take a little skill and a bunch of patience; both of which you can learn. And no matter how much you mess up, it's fixable. At the worst, you will have to cut it all out and start again, and you will have more experience than before.


2 comments:
Hi,
Will you please post a link to your Blog at The Hot Rod Community? Our members will love it.
Members include: Hot Rod Owners, Enthusiasts, Experts, Dealers, Collectors, Customizers, etc.
It's easy to do, just cut and paste the link and it automatically links back to your website. You can also add Photos, Videos and Classifieds if you like.
Email me if you need any help or would like me to do it for you.
Please feel free to share as often and as much as you like.
The Hot Rod Community: http://www.vorts.com/hot_rods/
I hope you consider sharing with us.
Thank you,
James Kaufman, Editor
Thanks for your interest James, I posted a link and I'll check out the site. Best, John K.
Post a Comment